One command. Paired ground station.
HOW IT FLOWS
Power on to paired
Install
One curl command on 64-bit ARM Linux
Power on
Ground-station profile comes up
Hotspot
ADOS-GS access point and captive portal
Pair
Drone pair key on the receiver step
Fly
Local or hosted Mission Control
- Install: One curl command on 64-bit ARM Linux
- Power on: Ground-station profile comes up
- Hotspot: ADOS-GS access point and captive portal
- Pair: Drone pair key on the receiver step
- Fly: Local or hosted Mission Control
INSTALL
One line. Five to ten minutes.
Open a terminal on the board or SSH in. The installer checks the architecture, fetches signed release binaries, writes the systemd units, and applies the ground-station profile.
$curl -sSL https://raw.githubusercontent.com/altnautica/ADOSDroneAgent/main/scripts/install.sh | sudo bash -s -- --profile ground-station --pair YOUR_PAIR_KEYRuns on 64-bit ARM Linux (aarch64). Leave out --profile and profile detection picks it from the attached hardware. Leave out --pair and you pair later from the setup wizard.
FIRST BOOT
Power on to paired, no laptop required.
The captive portal runs on the ground node itself and only until setup is finished. You need a phone and the unit's access point passphrase.
1
Power on
A board with the agent installed boots straight into the ground-station profile.
2
Access point comes up
The node broadcasts ADOS-GS-<id> with a passphrase generated for that unit.
3
A phone joins
The captive portal opens the setup wizard on Android, iOS, macOS, and Windows.
4
Pair and configure
Pick the role, paste the drone's pair key, and set the network. Optional steps never block the finish.
5
Handoff
The last step marks setup finished and hands you to Mission Control, local or hosted. You are flying.
PAIRING
One key on both sides.
The air unit and the ground node share a pair key. Once paired, they share a WFB-ng channel and a link, and the pairing survives reboots and power cycles.
If you ran the installer with a pair key, the ground node is already paired. If not, paste the drone's key on the wizard's ground-receiver step or the Radio tab in Mission Control, pick the channel, and pair. The agent stores the key, configures receive, and starts listening. With both sides up, video and telemetry arrive in about five to ten seconds.
An unpaired node keeps auto-pair armed, so a powered, unpaired drone in radio range pairs on its own. The agent refuses a second pairing while a drone is paired: unpair first, from the panel's pair-drone page or Mission Control, then pair the new key.
DAY TWO
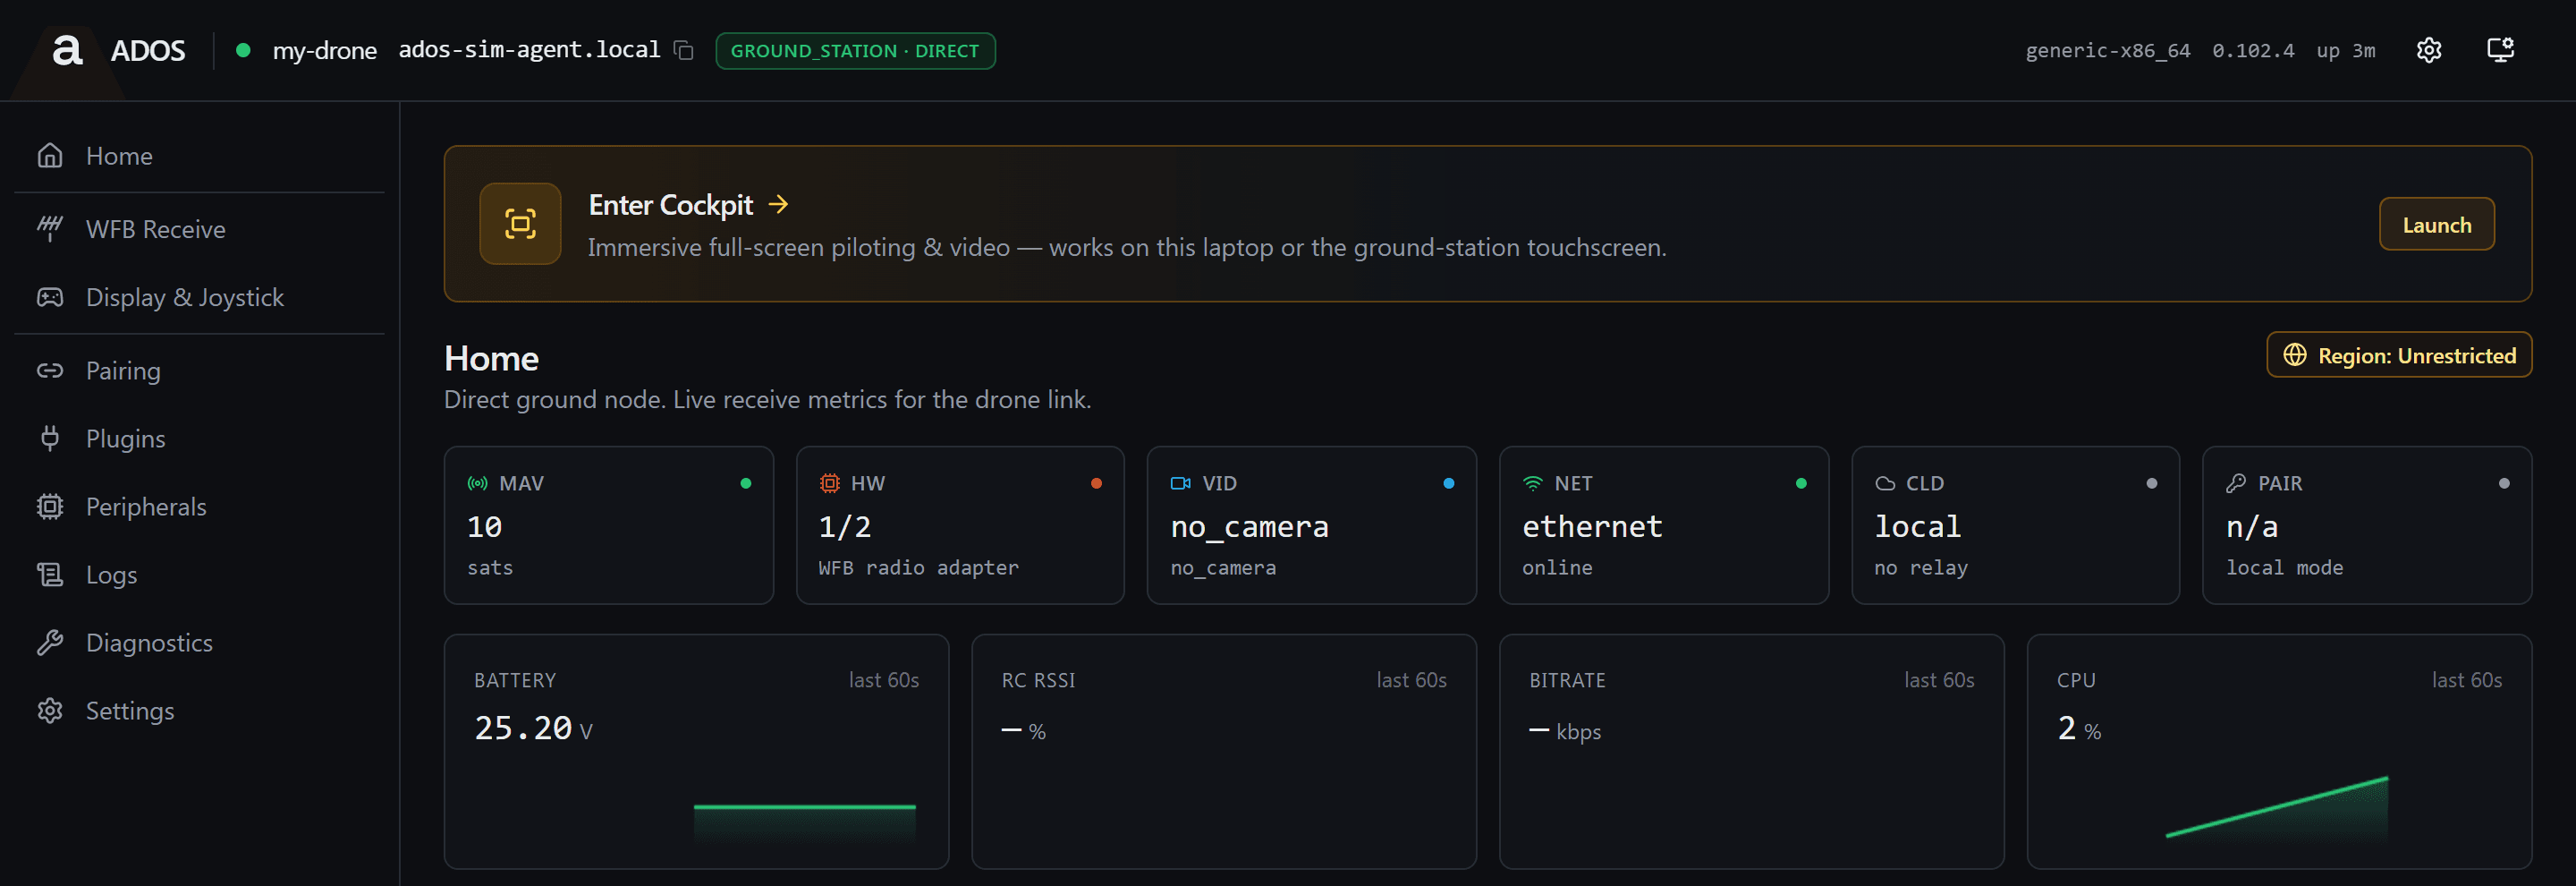
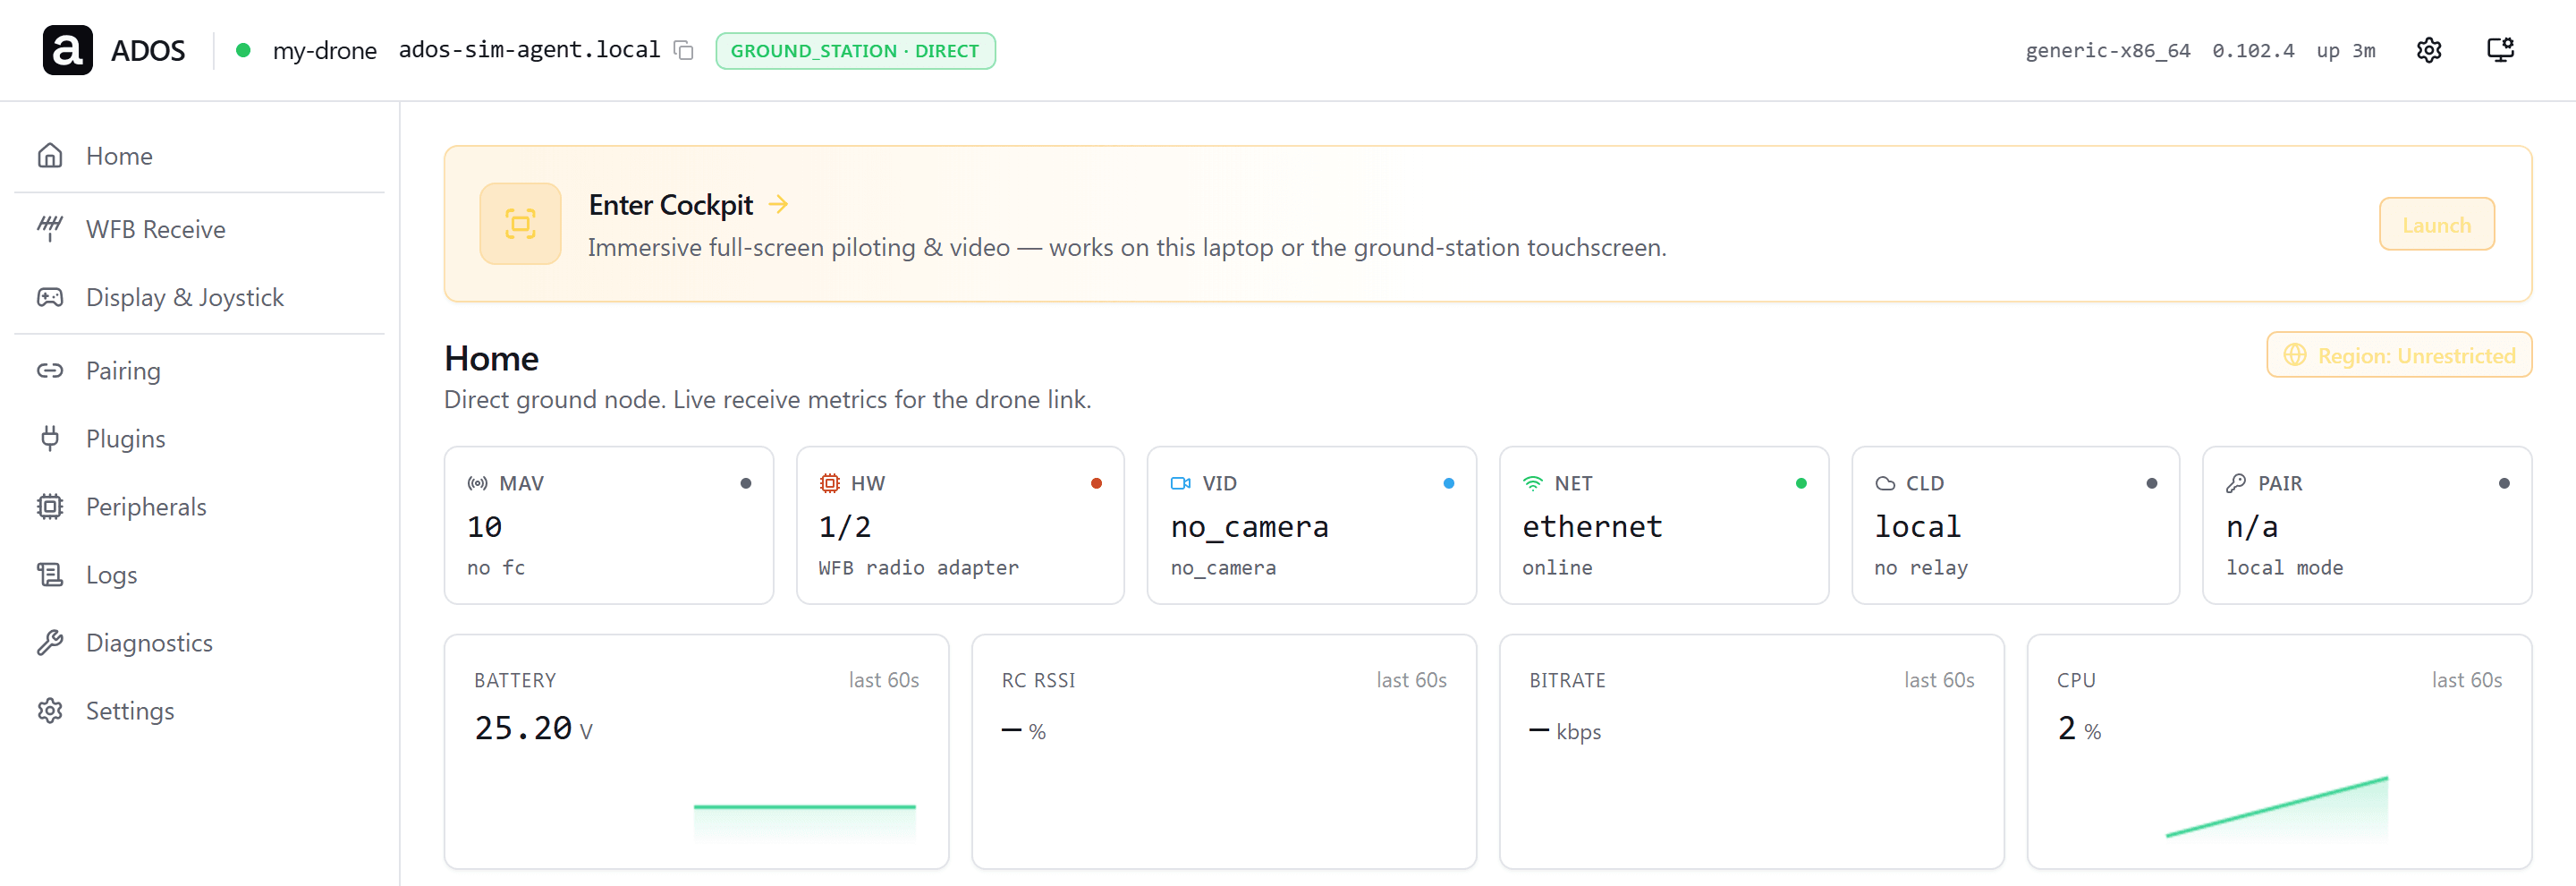
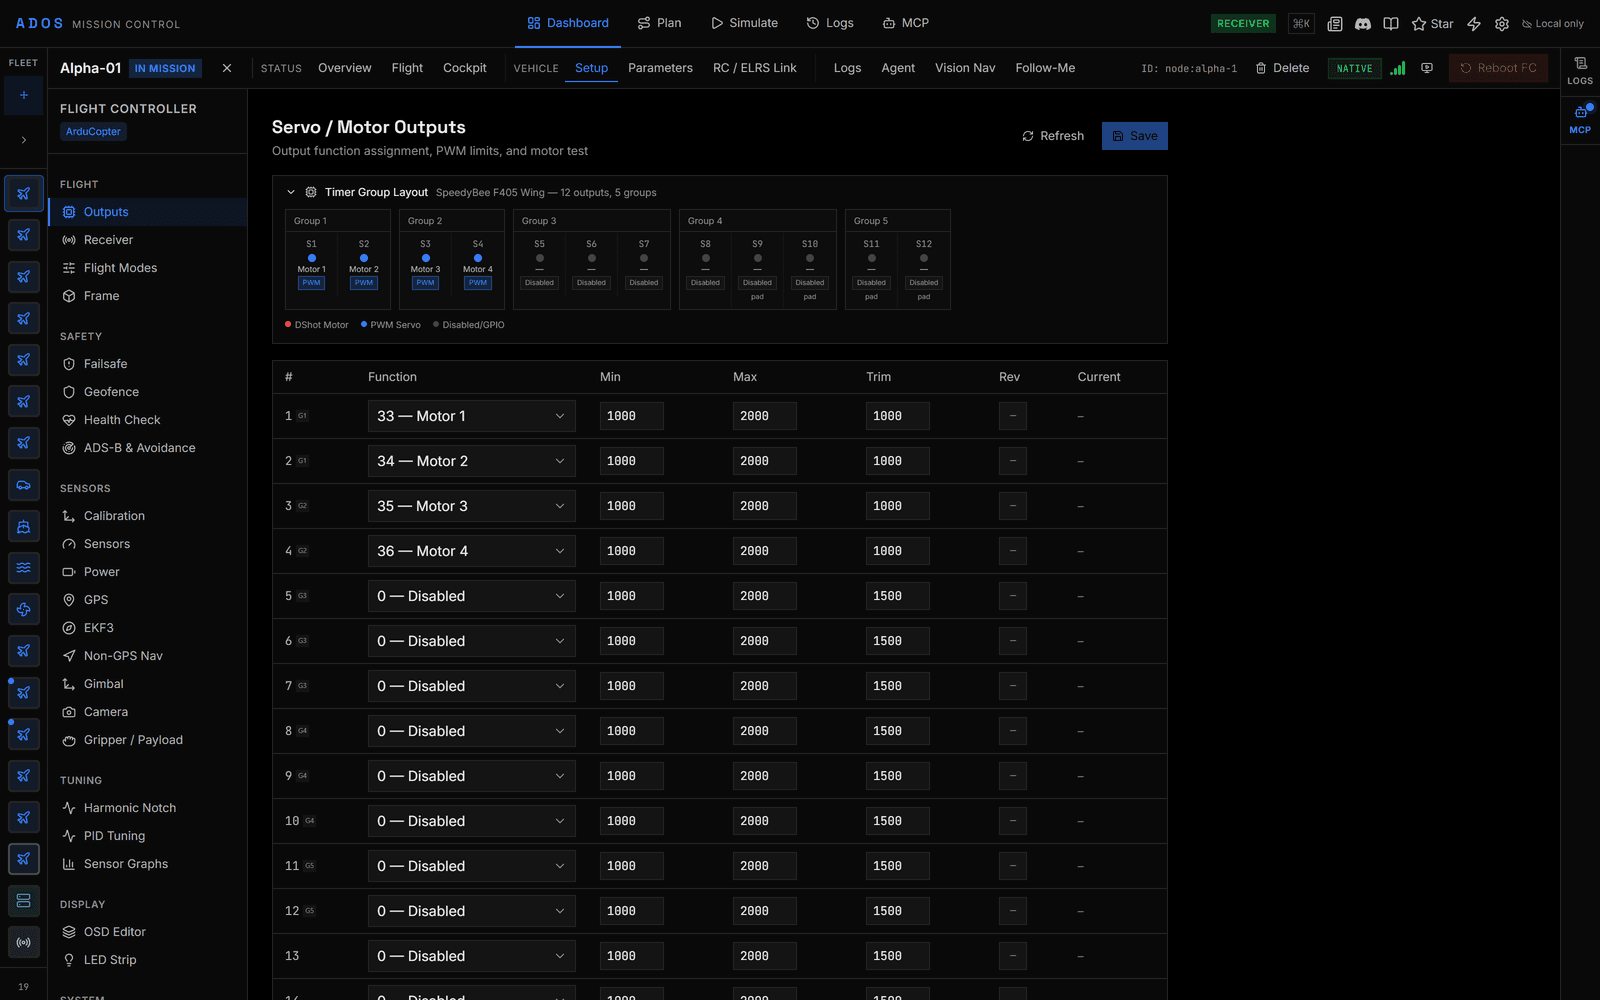
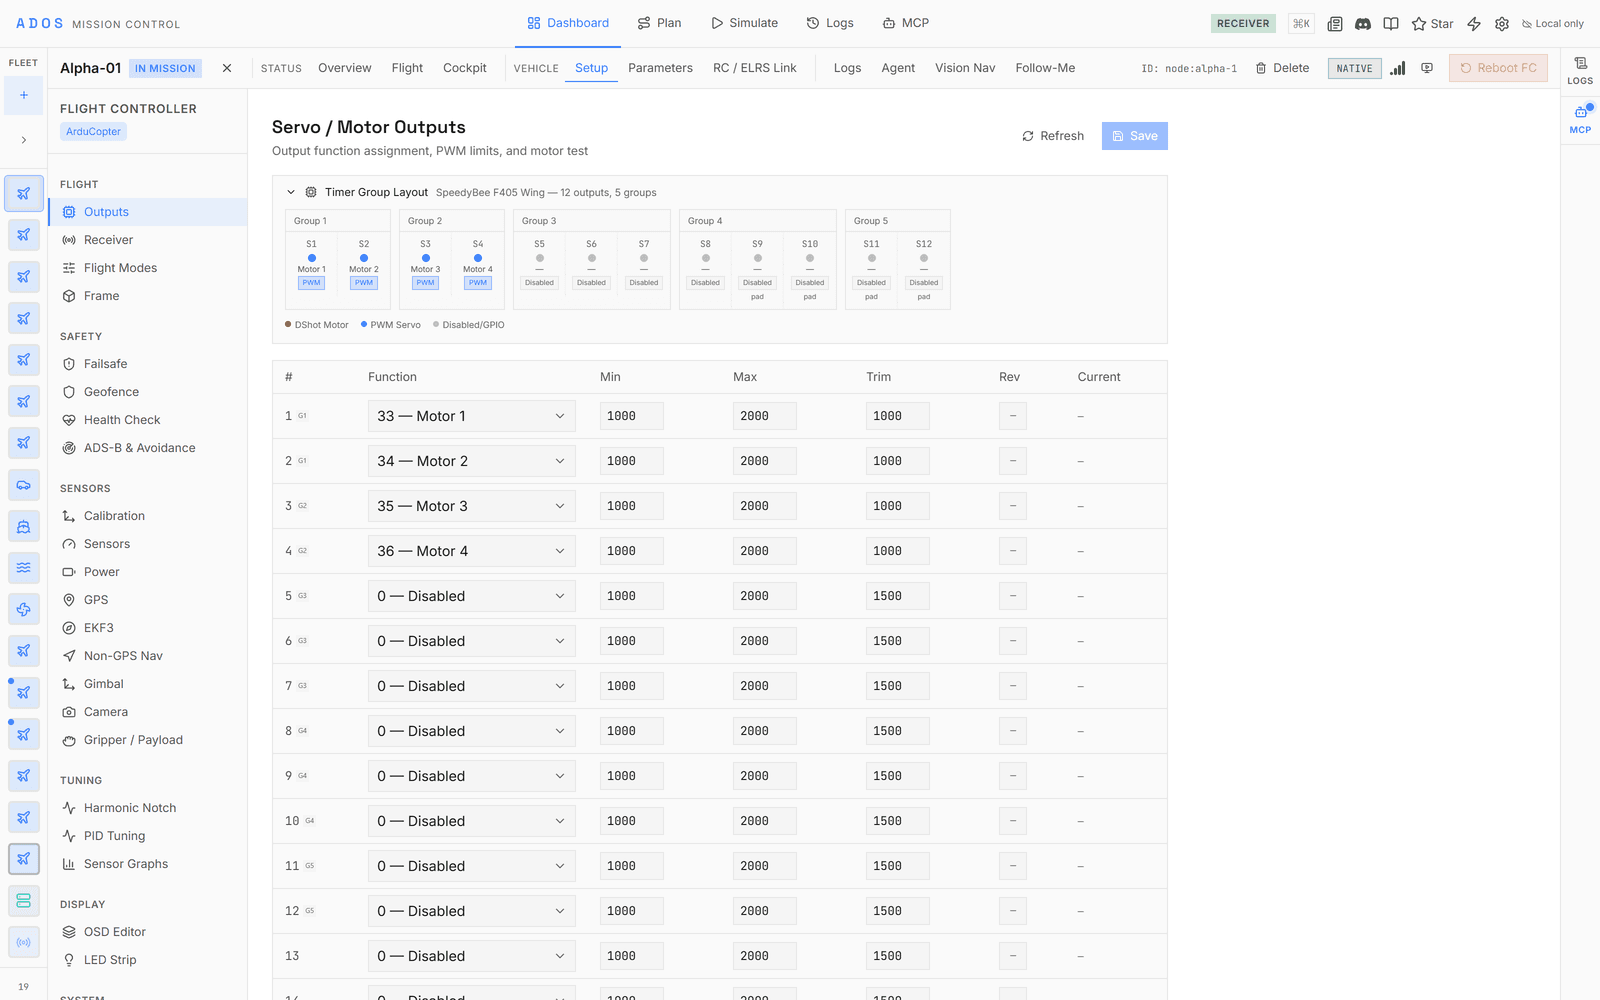
The ground station panel in Mission Control.
Twelve views, one per topic, two of them shown only when they apply. Every setting in the setup webapp is reachable here too, along with the live state of the node.
Overview
Mesh role, paired drone, receive link quality, and uplink at a glance.
Cockpit
The full-screen piloting view, with a clean no-signal state.
Carried drones
The aircraft this node relays, when each was last heard, and the authority it holds.
Radio
Topology, live link stats, and the TX power slider. Hidden on a receiver.
Network
Access point, WiFi client, Ethernet, LTE modem, uplink priority, and share-uplink.
Mesh & RX
The role picker, mesh health, neighbours, gateways, and distributed receive.
RC / ELRS link
The CRSF control lane. Shown only when one is present.
Display
Panel status, live preview, remote control, theme, and touch calibration.
Buttons
The OLED card, the button mapping, and the screen list.
Peripherals
Peripheral plugins registered with the agent.
Logs
The node's on-device recorder: logs and telemetry.
Agent
The companion-computer pages every node profile shares.
The panel lives in the open-source Mission Control at github.com/altnautica/ADOSMissionControl. Same code, same license.
FACTORY RESET
Start fresh, on the box.
A reset destroys every standing credential, then the device identity, the configuration, and the logs, and returns the node to first boot. The agent and its profile stay installed. It only runs from the node itself, so a remote key holder cannot wipe it.
Script
factory-reset.sh on the node
Lists everything it will remove, the pairing key, dashboard PIN, access point passphrase, radio keys, certificates, config, and device id, then asks before it touches anything.
Local API
One call from the box itself
The reset endpoint answers only on-box callers and needs a confirm token, the installed fleet key's fingerprint. It also drops the mesh role to direct and wipes the mesh identity.
Install. Pair. Fly.
The installation walkthrough, troubleshooting, and factory-reset procedures all live in the public docs.
Installation docs